시스템 사양 (환경)
CPU - i7-10700F
Memory - 32GB
Mainboard - MSI, B460M
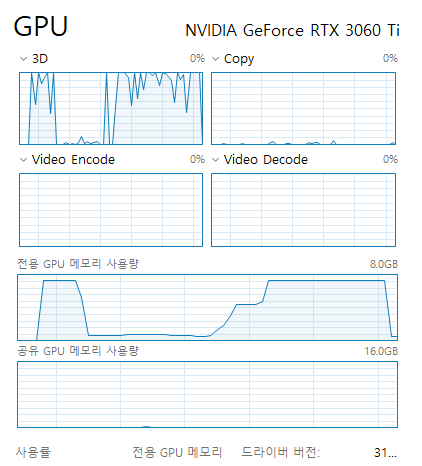
GPU - Geforce RTX 3060 Ti
WSL - Ubuntu 20.04
WSL2 환경에서 Nvidia gpu를 (3060ti) 사용하여 SwinIR 이라는 모델로 super-resolution을 돌려보았다.
SwinIR은 이전에 리뷰했던 super-resolution 모델과 달리 transformer 기반이라 따로 시도해 보았다.
먼저 AMD GPU를 이용한 DirectML로 구현을 해보고자 하였으나,
DirectML의 pytorch에 attention 관련 함수들이 아직 완벽하게 구현되지 않아
코드를 돌릴수 없었던 관계로 결국, CUDA를 사용하였다.
https://github.com/JingyunLiang/SwinIR
GitHub - JingyunLiang/SwinIR: SwinIR: Image Restoration Using Swin Transformer (official repository)
SwinIR: Image Restoration Using Swin Transformer (official repository) - GitHub - JingyunLiang/SwinIR: SwinIR: Image Restoration Using Swin Transformer (official repository)
github.com
CUDA 환경 세팅은 다른 글에서 따로 하고,
이번 글에서는 환경 세팅 이후 과정에 대해 서술하겠다.
1. git clone https://github.com/JingyunLiang/SwinIR.git 입력하여 깃헙 데이터 다운로드

2. conda create -n swinir python=3.8 을 입력하여 swinir 을 위한 파이썬 환경 생성 (3.8 버전)

3. conda activate swinir 을 입력하여 환경 활성화

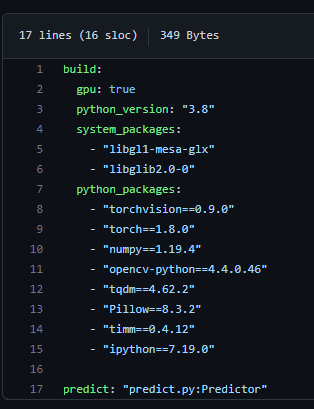
4. 이후 swinir 공식 깃헙에서 확인되는 필수 패키지들을 설치한다.

5. pytorch의 경우 (torchvision, torch) CUDA 버전 또한 고려해 줘야하므로
공식 홈페이지에서 시스템에 설치된 CUDA 버전에 맞는 pytorch 버전을 설치한다.

필자는 stable 버전/리눅스용/pip 패키지/파이썬/CUDA 11.6 버전에 해당하는 pytorch를 설치하였다.
사진 하단에 보이는 command를 그대로 복사 붙여넣기 해준다.
pip install torch torchvision torchaudio --extra-index-url https://download.pytorch.org/whl/cu116 입력

6. opencv-python, Pillow, tqdm, timm, ipython 을 설치한다.
pip install opencv-python Pillow tqdm timm ipython 입력

7. 깃헙에서 받은 SwinIR 폴더 내에 model_zoo 폴더에서,
wget https://github.com/JingyunLiang/SwinIR/releases/download/v0.0/003_realSR_BSRGAN_DFO_s64w8_SwinIR-M_x4_GAN.pth 을 입력하여 pretrained 모델 저장

8. 다시 SwinIR 폴더로 돌아와서 (main_test_swinir.py 파일이 있는 곳)
python main_test_swinir.py --task real_sr --scale 4 --model_path model_zoo/003_realSR_BSRGAN_DFO_s64w8_SwinIR-M_x4_GAN.pth --folder_lq testsets/RealSRSet+5images --tile 400 입력하면 모델이 돈다


일단 예제코드로 예제 데이터만 가지고 작업해 보았는데,
실제 데이터를 돌려보고 글을 업데이트 하겠다.
끝
'컴퓨터 > 머신러닝 (Machine Learning)' 카테고리의 다른 글
| Video Restoration Transformer (VRT) 사용하기 - 2 (0) | 2022.09.02 |
|---|---|
| Video Restoration Transformer (VRT) 사용하기 - 1 (0) | 2022.09.01 |
| WSL2, AMD GPU, DirectML 환경에서 super-resolution 모델 (tecogan) 돌려보기 (0) | 2022.07.25 |
| WSL2, AMD GPU, DirectML 환경에서 super-resolution 모델 (BSRGAN) 돌려보기 (0) | 2022.07.18 |
| WSL2, AMD GPU, DirectML 환경에서 Yolov4 돌려보기 (0) | 2022.07.11 |


